Yo yo yo!
Today's drawing lesson is going to be a part two, for my first lesson on how to draw a ferrari 355 F1.
This time we will learn how to draw the Ferrari Enzo, which is... well... AWESOME!
So lets jump right into it.
The Ferrari I will be drawing, will be facing away from us, turned a bit to the side. This calls for two points perspective. This is how I built the angle:
If you want a more in depth explanation on drawing in perspective, check out my lesson, on How to draw in perspective - One point.
Now see if you can tell where the two points are. In case you are having a hard time (one of them is easier to find then the other), I made this just for you:
Now you can see how the two points are actually very far from each other. I used 3 papers for this, one for drawing, and two more for each point.
After we set up the perspective, it is time to draw the basic lines of the Ferrari Enzo. This step is crucial, since we have to make sure it all fits in the perspective the way it should, and that all the lines are in agreement with the perspective.
Here is the basic sketch:
Notice how all lines, even the curved ones, are congruent with the perspective. Drawing curved lines in this manner is quite challenging, since there are no clear rules. You have to observe the object you are drawing, and pay close attention to the curves, from different angles.
Here is the sketch, together with the perspective lines:
Now its time for my favorite (and for me, the toughest) part. Adding the details. I add all the lights, the wheels, the details on the body of the car, and the details and way he doors are built.
Here is what I came up with:
Pay attention to how the details I added are also congruent with the perspective. This is especially noticeable in the back part of the car.
Next thing I do, is cleaning the drawing from all excessive and unnecessary lines. This lets you understand better, what you drew and how the car "behaves" in space. This is a preparation for the next step, which is coloring!
I use my favourite method of placing the paper on the window, and coloring onto a new paper. Here are some examples of the process:
So the last example is the finished, scanned and colored drawing.
Now its time to ink this beast. The thing is, this time, I'm not going to use a nib pen, but rather a Micron Pigma black pen, by Sakura. The reason I won't be using a nib pen this time, is that this Ferrari is built from many curved lines, and the Micron Pigma works great with these lines. Also, this pen draws amazingly ON/OVER colored pencils, something that the nib pen sometimes has a hard time doing.
Here are some examples of using the pen, especially on tough spots, and long curvy lines:
Like on previous lessons, since we first colored, and only then inked, the lines sort of make themselves POP with the help of the colors. For this reason, we can be extremely minimalistic with our use of the ink.
Here is an example of minimalistic use of ink, by leaving a line open and unfinished:
Here is the final version of the drawing, colored and inked:
Let me know what you think of the drawing, and if this drawing lesson helped you.
I will make another lesson real soon!
Peace,
- Liron
Read More
Hey guys!
So yeah, last time I said there will be a surprise, and I'm delivering!
In this drawing lesson, we will learn how to draw a Ferrari 355 F1. Basiclly, I wanted to draw a ferrari for a while now. The reason for this, is that I decided the next car I'm getting WILL BE A FERRARI.
I wanted to have this as my first "How to draw..." tutorial, since it relates to the concept of defining dreams and goals and following them through. I decided a while ago that this is a goal of mine, and by the end of 2014 I will be able to achieve it.
Oh, did I mention it has to be a yellow one? [=
So lets get down to business.
Important note - my scanner broke, so until I get a new one we're gonna have to do this the retro way. I promise to upload a better and clearer version of the final drawing as soon as I get a new one.
How to draw a Ferrari (one way out of many):
1. First things first - perspective!
This is probably the most important step, that will define how the entire drawing is going to end up. I'm using a two point perspective for this one, because the car will NOT be facing us straight ahead, but rather to the side. I'm aware that some of you may not be too familiar with drawing in perspective, I will make an entire tutorial on it, but for now, just observe and see how it defines the lines to come.
In this specific drawing, the points are going to be so far away from each other, and they both end up OUT of the main paper, something that will happen occasionaly. On the picture above you can see that. The paper on which the drawing is going to be is on the right side, and the left point for the perspective is on an "aid" paper, that will not be used.
2. Basic body of the car:
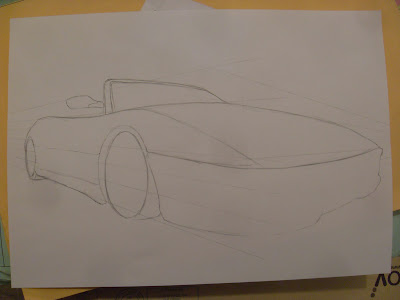
Here I drew the basic body of the car, without worrying to much about the details. The most important thing here, is to make sure it is all congruent with the two point perspective. The lines of the length of the car are "coming out" of the left point, and the lines that represent the width of the car are coming out of the right point.
I remind you that you can't see the actual points here, because they are outside of the paper!
Another thing to pay attention to, is the difference in the sizes of the wheels. You can see how the wheel thats closest to us (and more further from the left point) is MUCH BIGGER then the one thats more far away from us. Perspective is amazing [=
3. Adding details
Okay, so here you can see I added some details to the body of the car - crossing lines that represent the connection between different metal parts, dents and "holes" in the body etc..
I also started adding the details on the wheels, and added the seats of the car, and everything around the front windshield.
This step requires accuracy and some research work. I observed many cars, and especially Ferrari's to understant how the body, wheels, mirrors and all the rest of the parts look from different angles. this really helped me to get them correctly on the paper. On the flip side, don't be TOO serious! have fun with it and feel free to add your own touches and twists to the car, it's your drawing after all.
4. Some more details
Not too much to add on this one. One thing though, notice how I put some X's (I really hope it comes up in the images) in some places like the holes of the body, and near the wheels. That indicates the areas I'm going to color black, its a nice and easy trick.
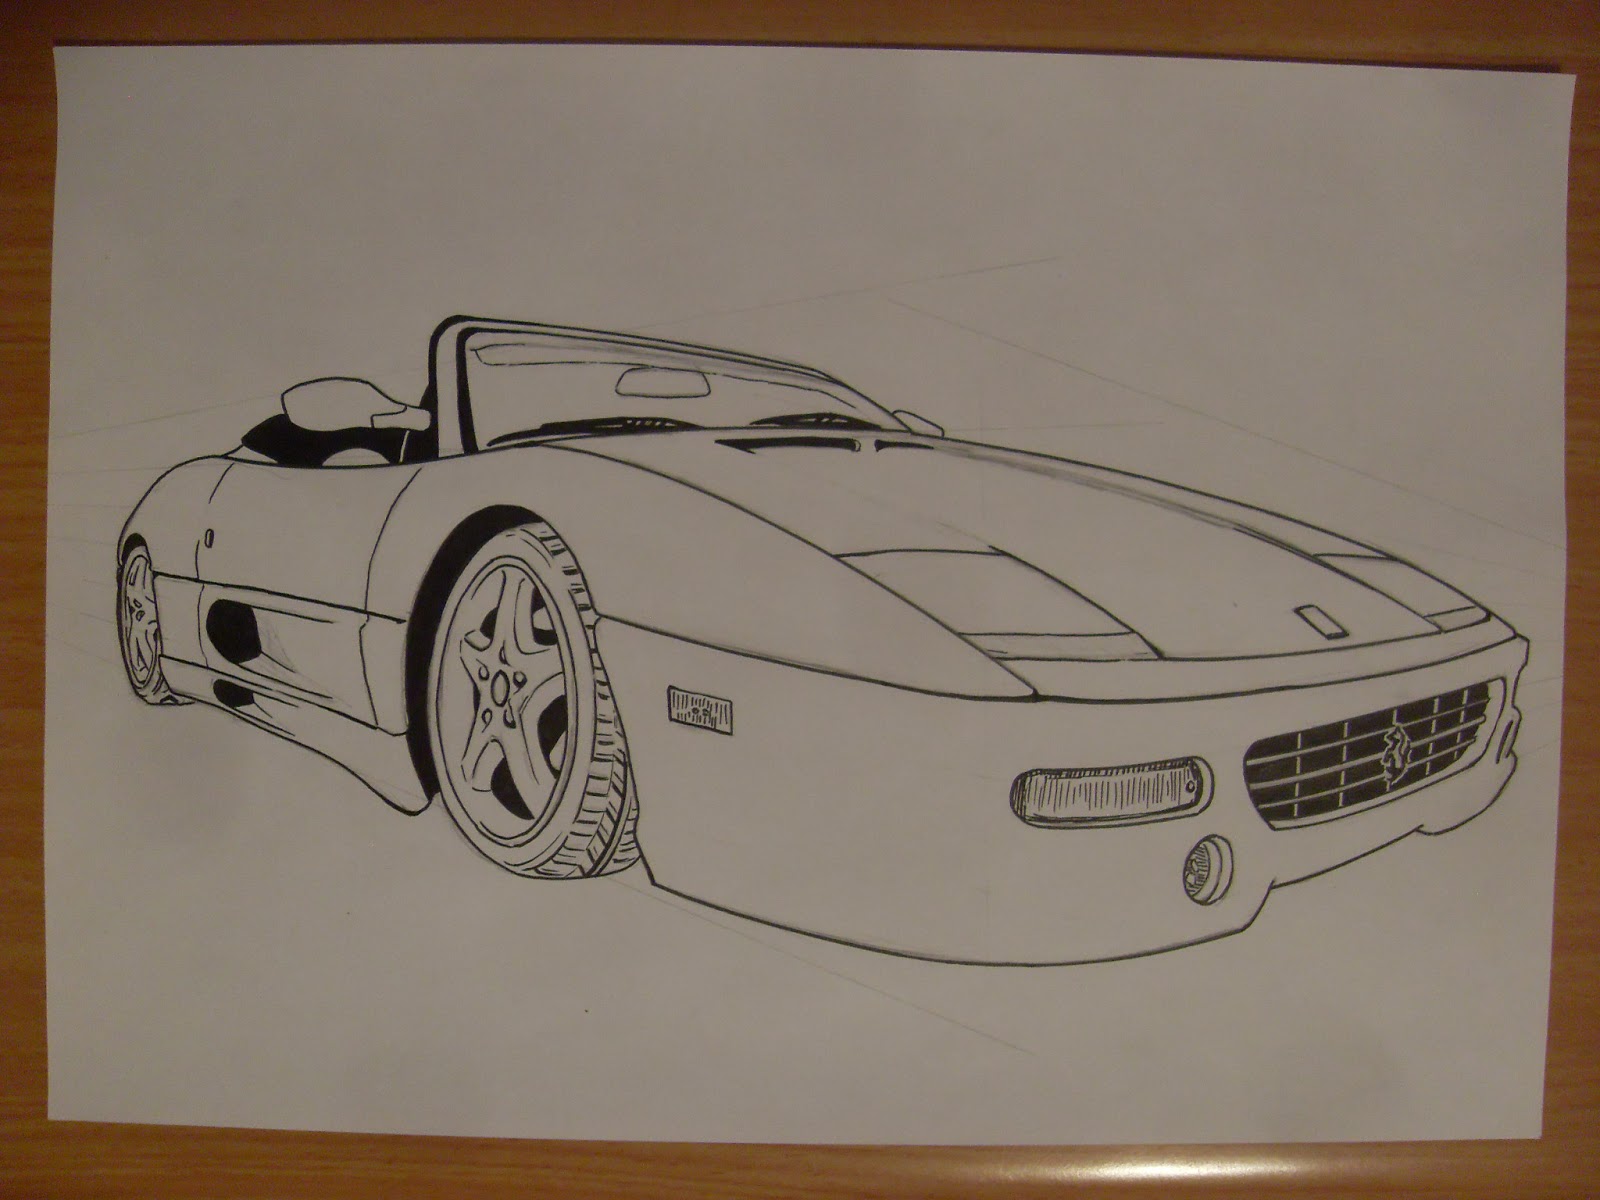
5. Inking
I'm inking this using a Micron Pigma pen, the 04 and 08 sizes. I will talk more in the future about the materials I'm using. I'm also using different types of curved rulers for the really tough parts. But as a general rule, I prefer to draw everything myself with no rulers. But you can do whichever way you like better [=
6. Inking and finishing up
In this one I finished the inking. Now all thats left to do is to slowly and carefully erase the pencil lines (I've wrecked a couple of drawings in the past by not being careful with this step - not good..)
Thats basiclly it for this drawing lesson, let me know if it helped you!
An important point - this is ONE way to do this, there are tons of other ways, feel free to change everything to best suit you. And let me know if you have suggestions, or things that you think could be better.
More fun stuff to come (=
yours truly,
Liron
Read More