
In today's drawing lesson you will learn how to draw a Butterfly! This is the second lesson on my "Super Simple Series"! You can find the first one here: How to draw a Lion - Step by step.
Read THIS post to learn more about SSSeries.
Also, I've added an archive, including All of my drawing lessons. Feel free to check those out and maybe find older gems [=
This drawing lesson will be divided into two parts:
1. An "infographic", including the entire lesson, in a brief version (click to enlarge).
2. A more detailed lesson afterwards.
1. How to Draw a Butterfly - Step by step (scroll under the picture for part 2):

For those who are interested in a more elaborated version, here is some more on the drawing process.
Step 1 - The body:

The body is composed of 3 oval shapes, one for the head, a second one for the middle part of the body and a third one for the back part. The head is round, and the two other parts are elliptic.
Step 2 - The wings:

Step 3 - The legs:
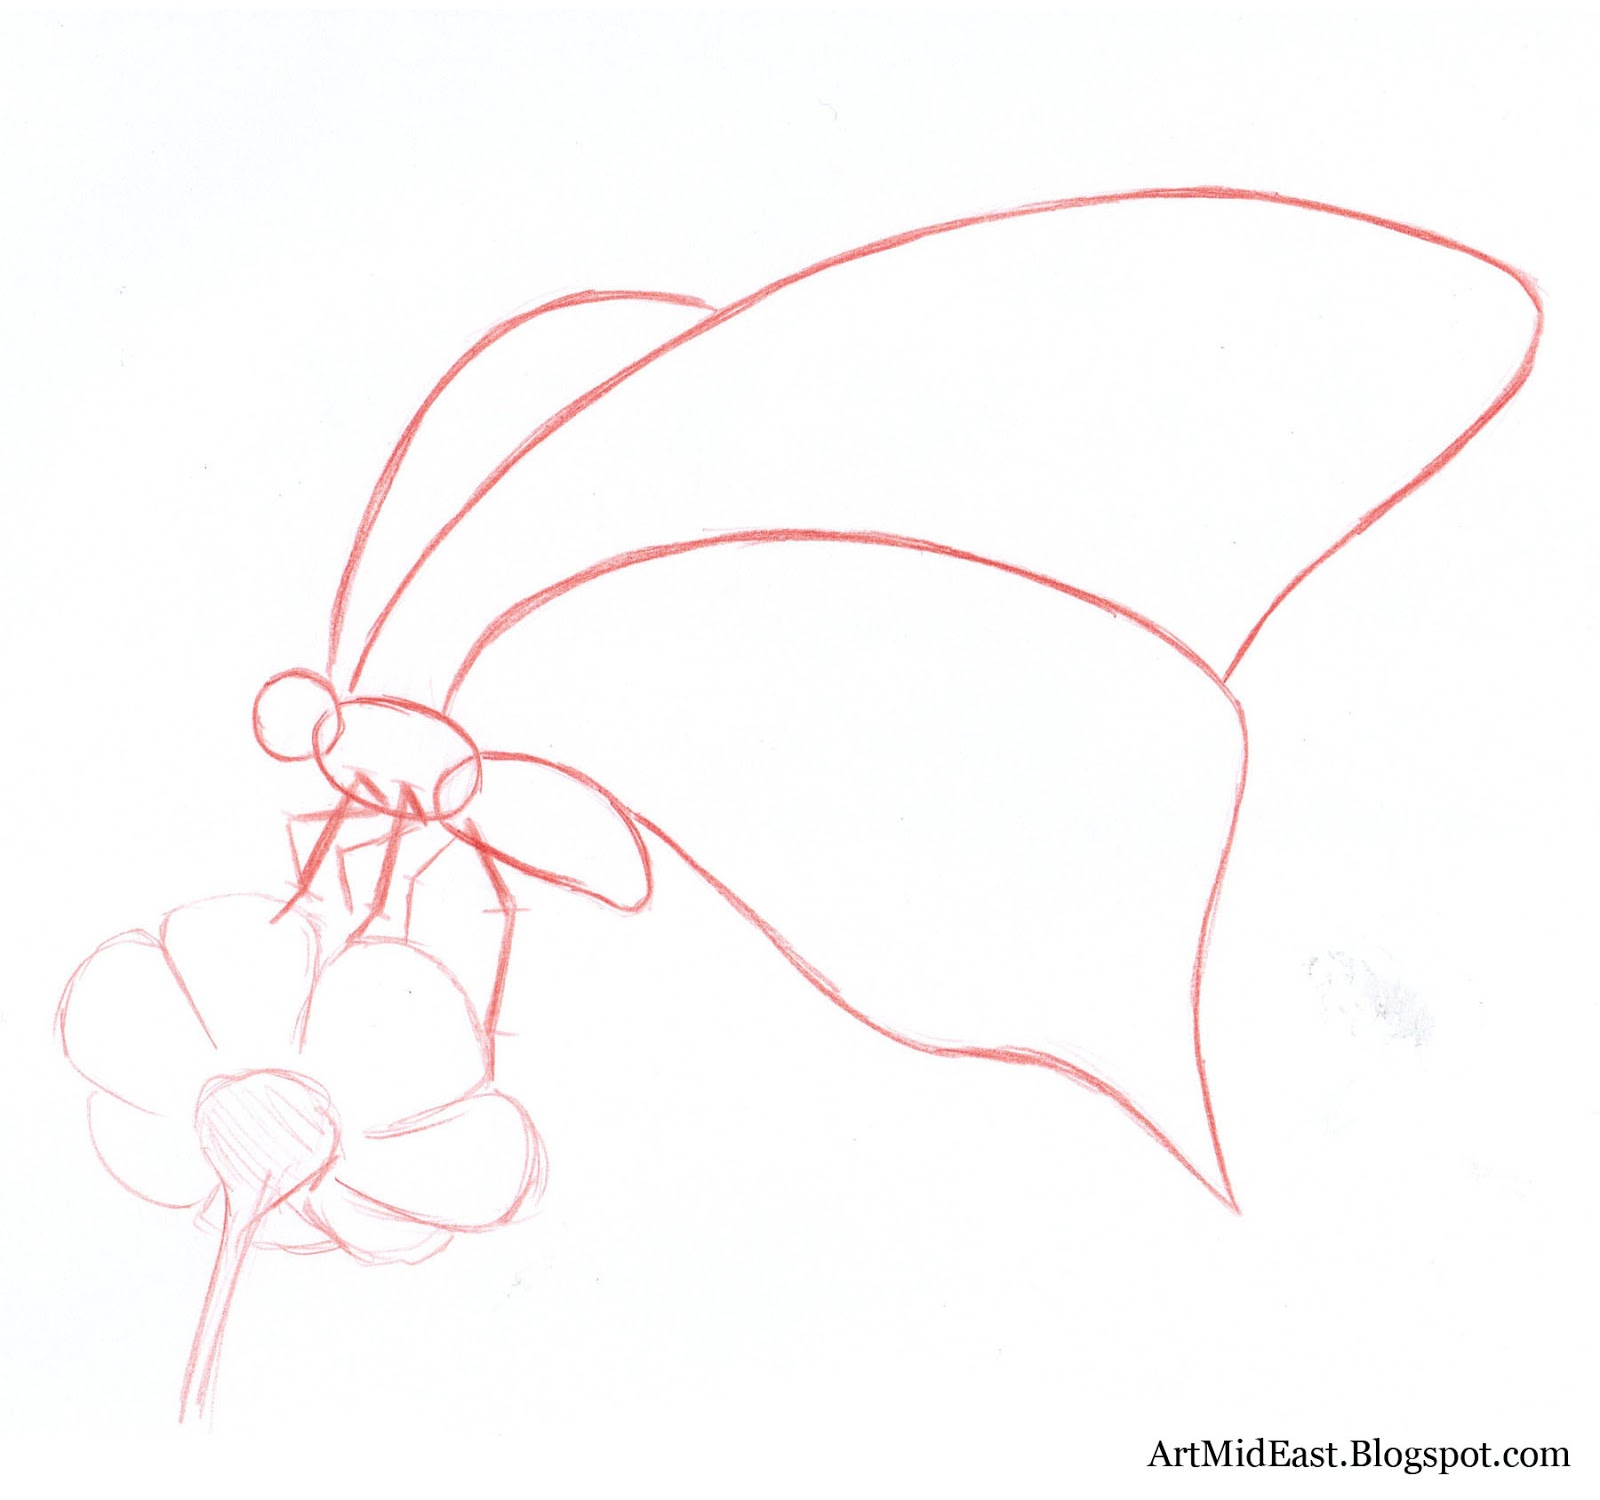
Here you can see I added the legs. These are pretty simple. There are three legs on each side, making it a total of 6 legs. Each of the legs is divided to 3 parts.
Step 4 - Details of the head:

OK, so I drew the details of the head. There are two huge eyes (in comparison to the size of the head), one of them is almost entirely bocked from our vision by the head. I also added the antennae and proboscis (which is the pipe that sucks food).
Step 5 - Details of the body and wings

Here I added details to the body and wings. I found that some butterflies have this fur like cover over their body, which I indicated lightly here. I also divided the back part of the body, and added a preparation for the details on the wings.
Step 6 - Inking

Step 7 - Wings

Now we officially finished with the wings. I added a texture I saw in many butterflies. Feel free to change it on your drawing. Maybe even invent one of your own!
Now it's time to erase the pencil, and wrap this drawing up...
There you go!

====================
That wraps up today's lesson on how to draw a butterfly.
Again, Let me know how this new format is working out for you.
Follow me on Facebook, Twitter and Pinterest (With the buttons on the top of the right side bar) to see some pictures (and not scans!) of the process that didn't make it here. And as usual, please share this lesson with other people who may be interested, maybe even your kids!
And until the next drawing lesson....
- Liron [=
No comments:
Post a Comment