Hello people of the world!
This is going to be a shorter post then the few last ones because it's less of a lesson.
In this post I want to show you some finished artwork, and how to apply what we've learned in the last lesson, about how to draw in one point perspective.
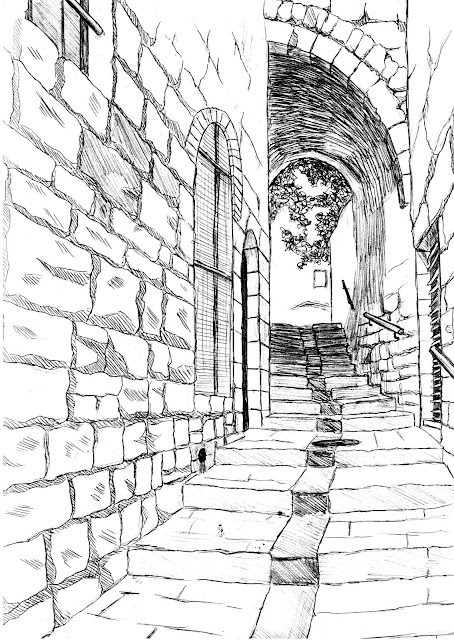
So first thing - remember that nice street in Jerusalem, that I mentioned in the end on my last post?
Well, here it is, in its AWESOMENESS!
I'm really happy with how it turned out. Shading those stones on the walls was grueling [=
This may seem complicated, but actually what we've learned on the last lesson is more then enough to create this, since its a simple one point perspective drawing (The stairs do make it a bit more complicated, but still pretty straight forward).
So just to get the point across, here is how the OPP works in this one:
All the lines that are coming towards us, are coming out of the center point.
Anyhow, thats about OPP. Now for the special treat!
This is the scanned Ferrari from 2 posts ago:
And here's the finished, scanned, (digitaly) colored version!!
At the beginning I thought about coloring it using colored pencils / markers, but then I changed my mind and digitally colored it. Which gives me an idea of making a future lesson about how to digitally color with photoshop...
Anyway, let me know if you like how it turned out [=
Thats all for today,
Until next time,
- Liron


No comments:
Post a Comment